

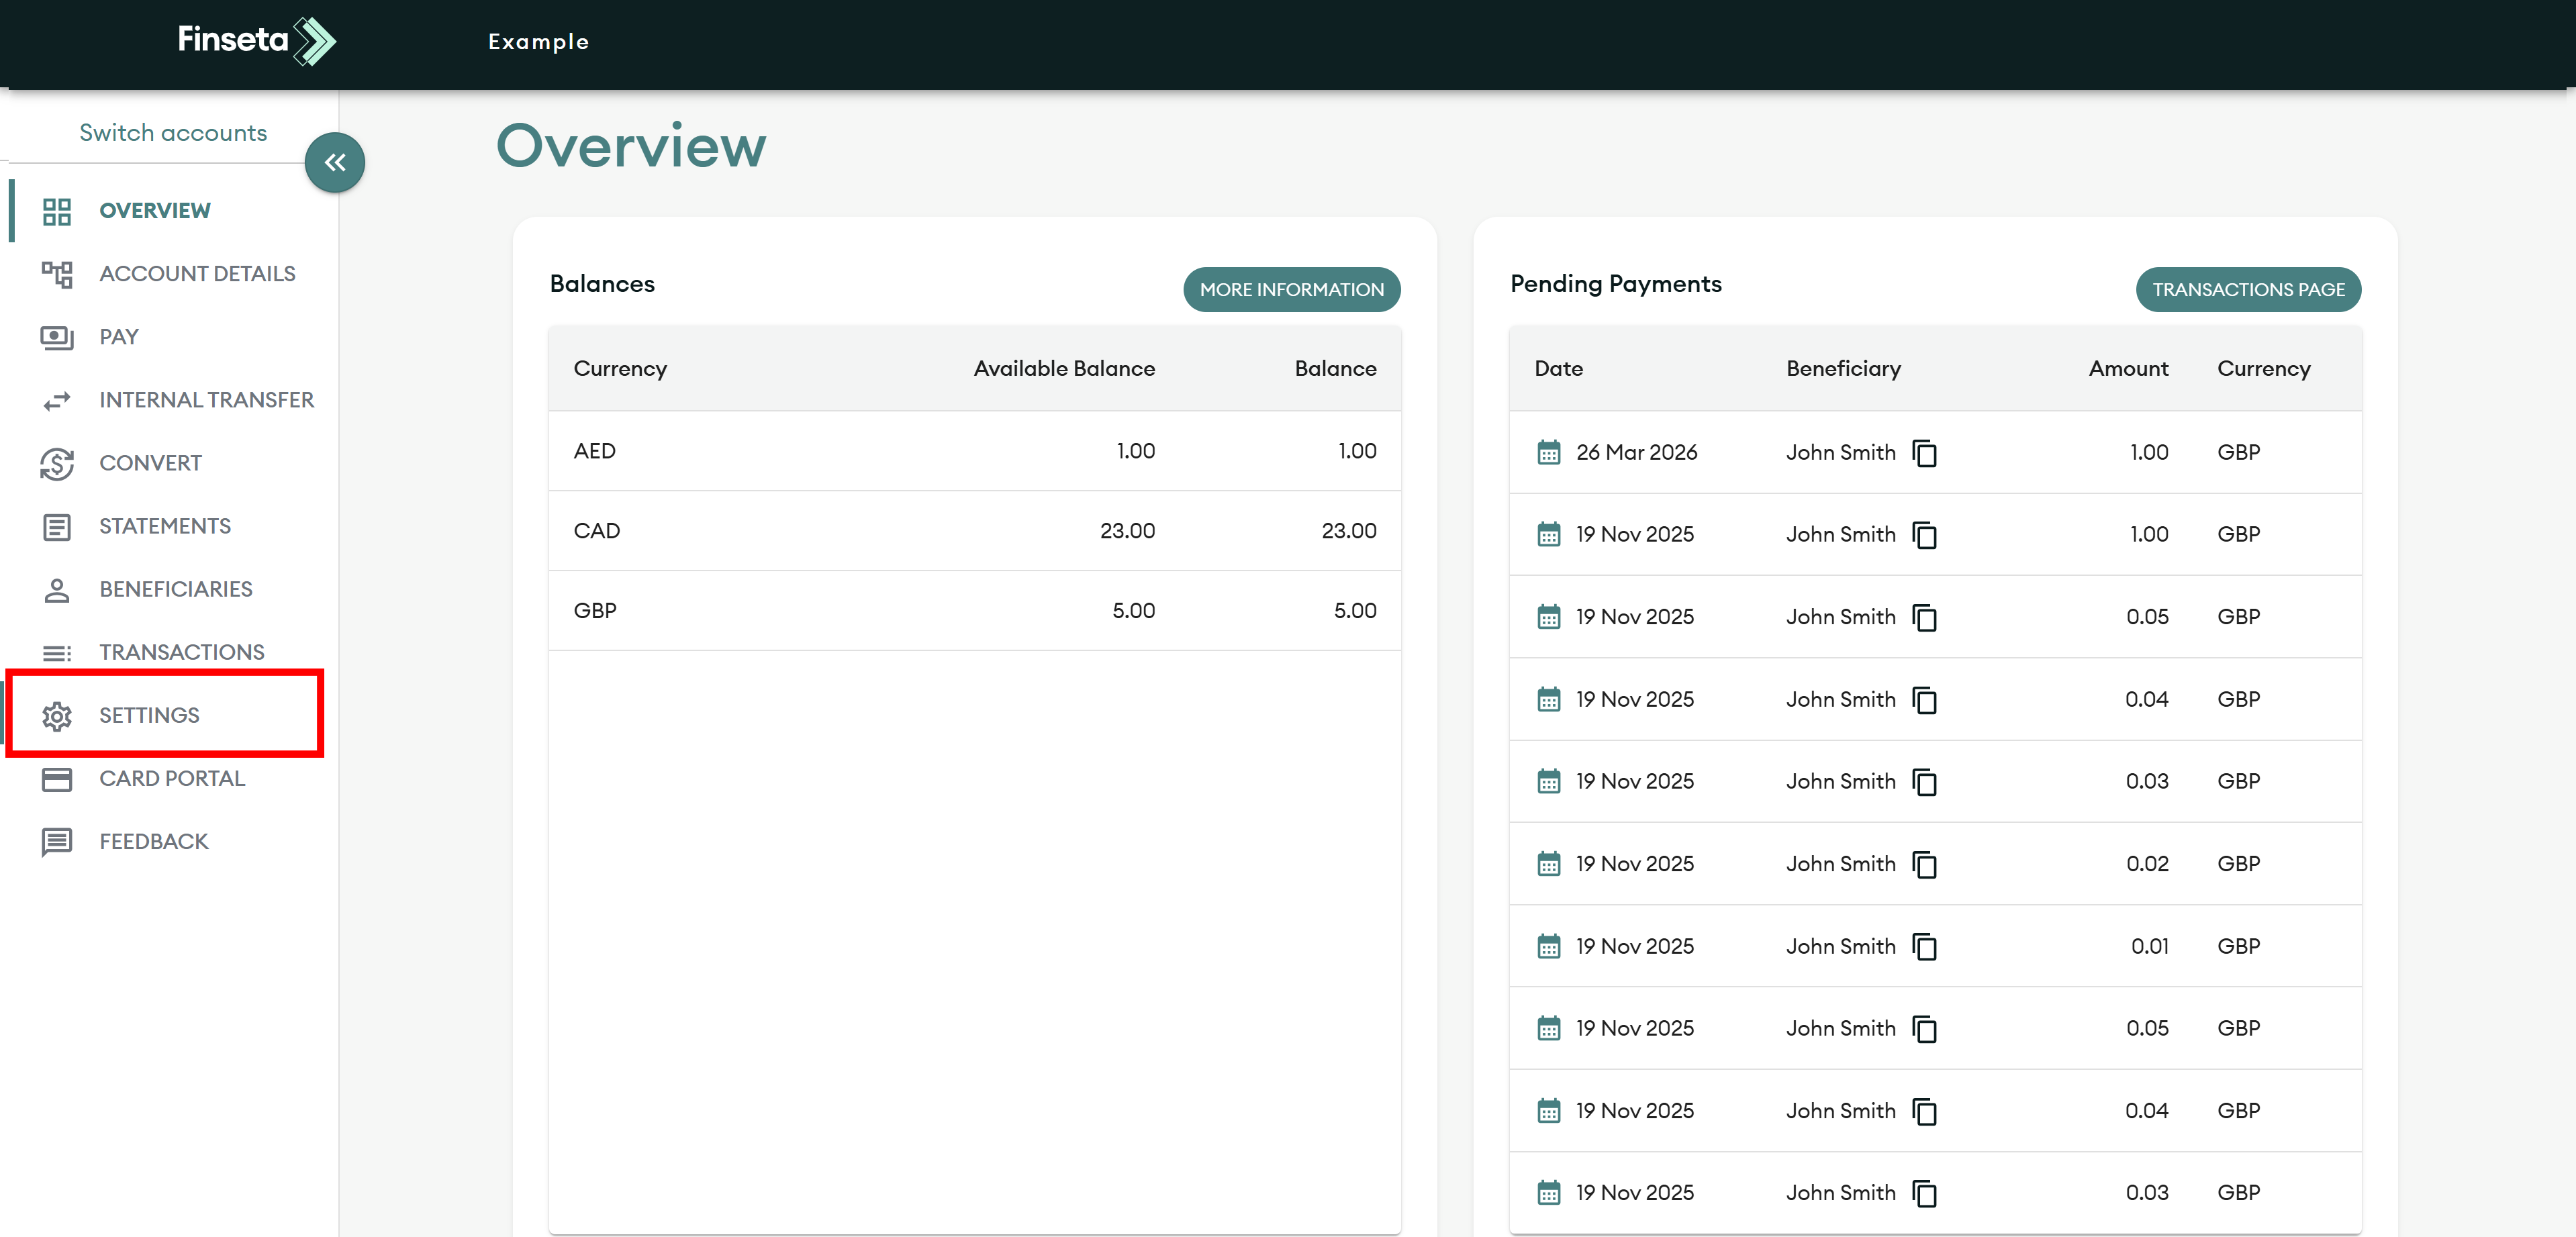
STEP 1
Go to the settings menu on the Finseta platform.

STEP 2
Click on the “User Access” section within the settings menu.
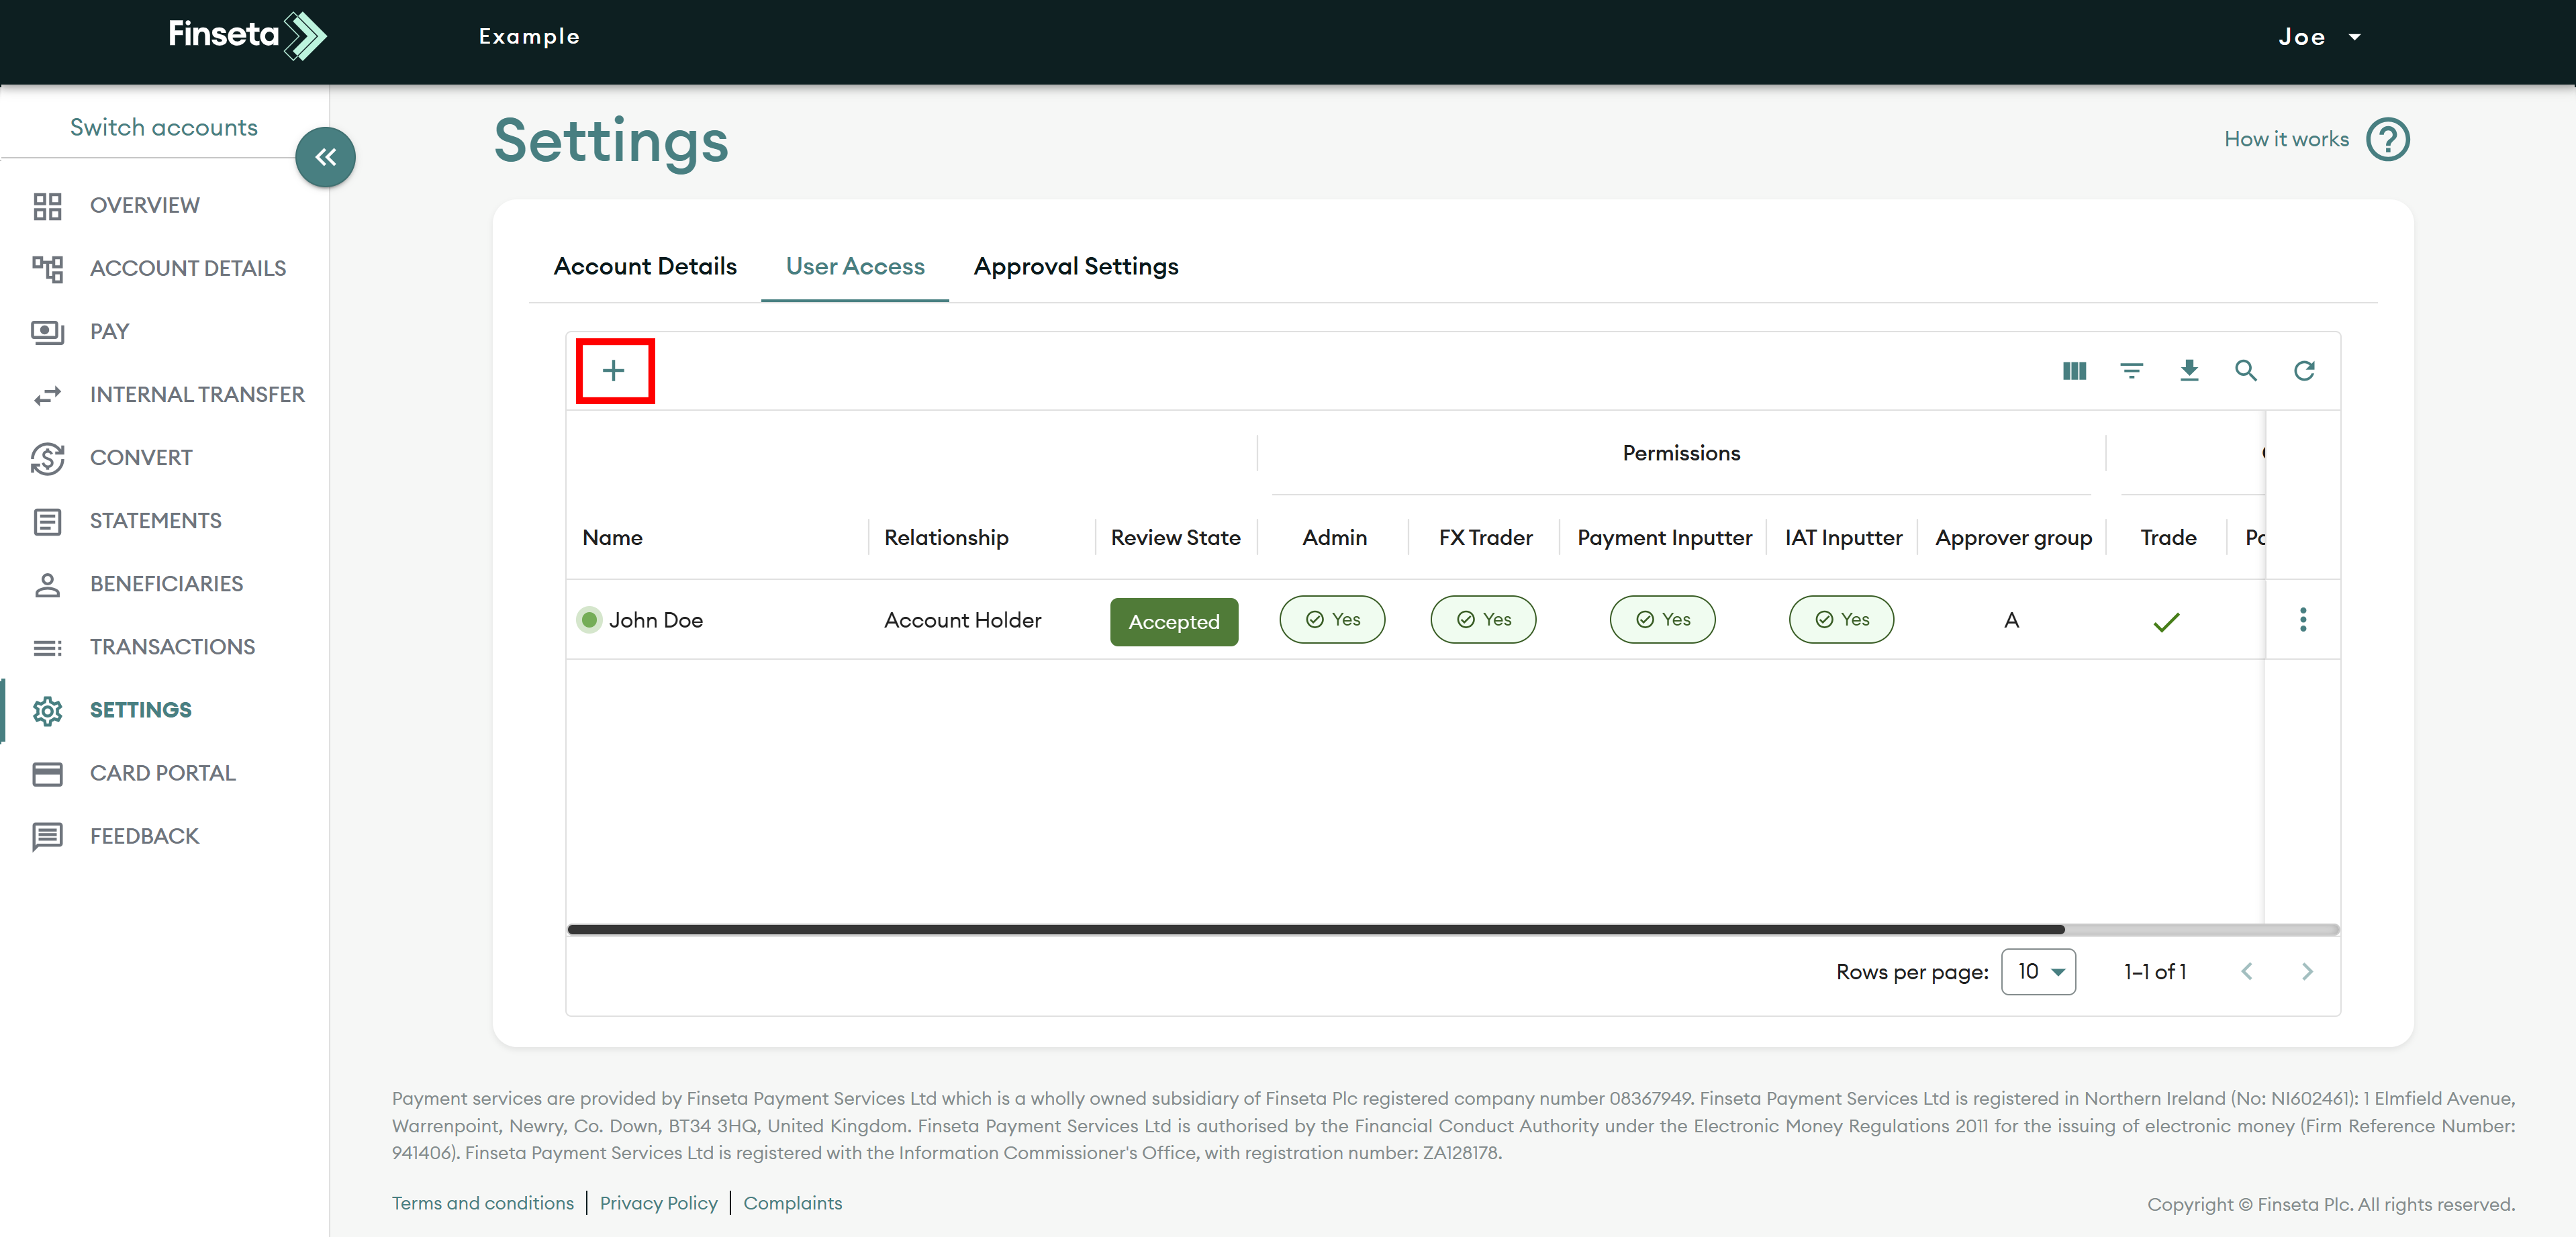
STEP 3
Select the “+” icon. Then you can choose to create a new user or use an existing one. If you are unable to see this, you likely do not have permission to add users. To add users, you must be an admin on the account.
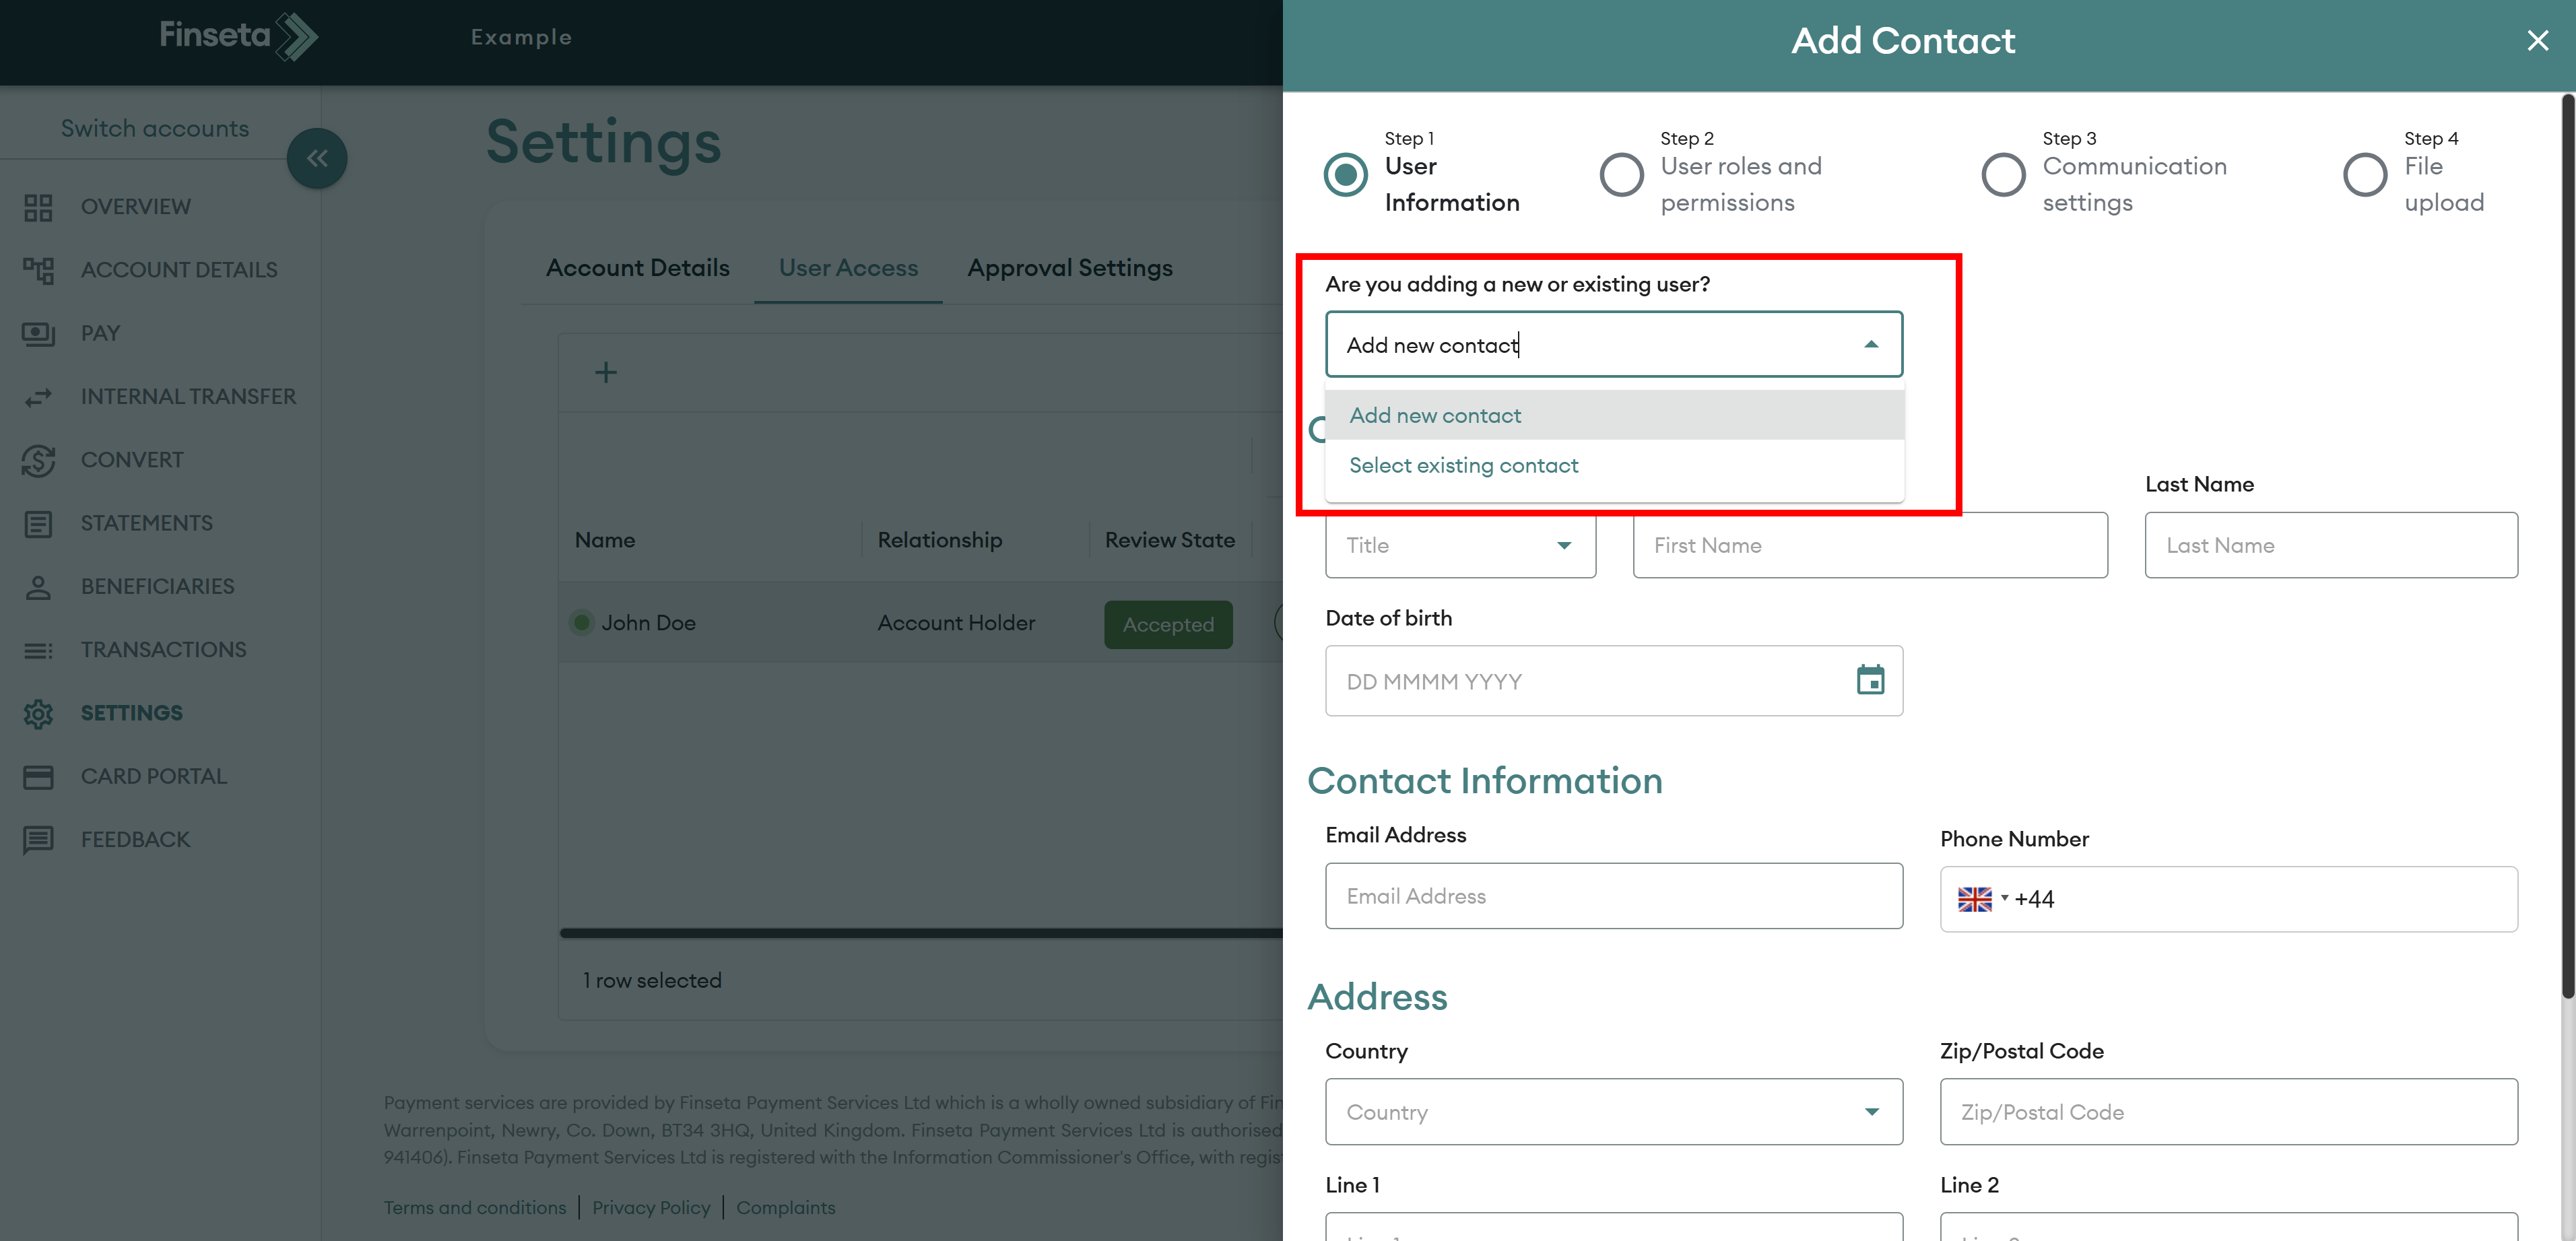
STEP 4
Click on the dropdown if you have chosen to add an existing user. Any users for accounts you are an admin on will be shown in the list.

STEP 5
If you are adding a new user enter the user’s details, as shown on the platform. Once the details are added, scroll down and click the green “Next” button.

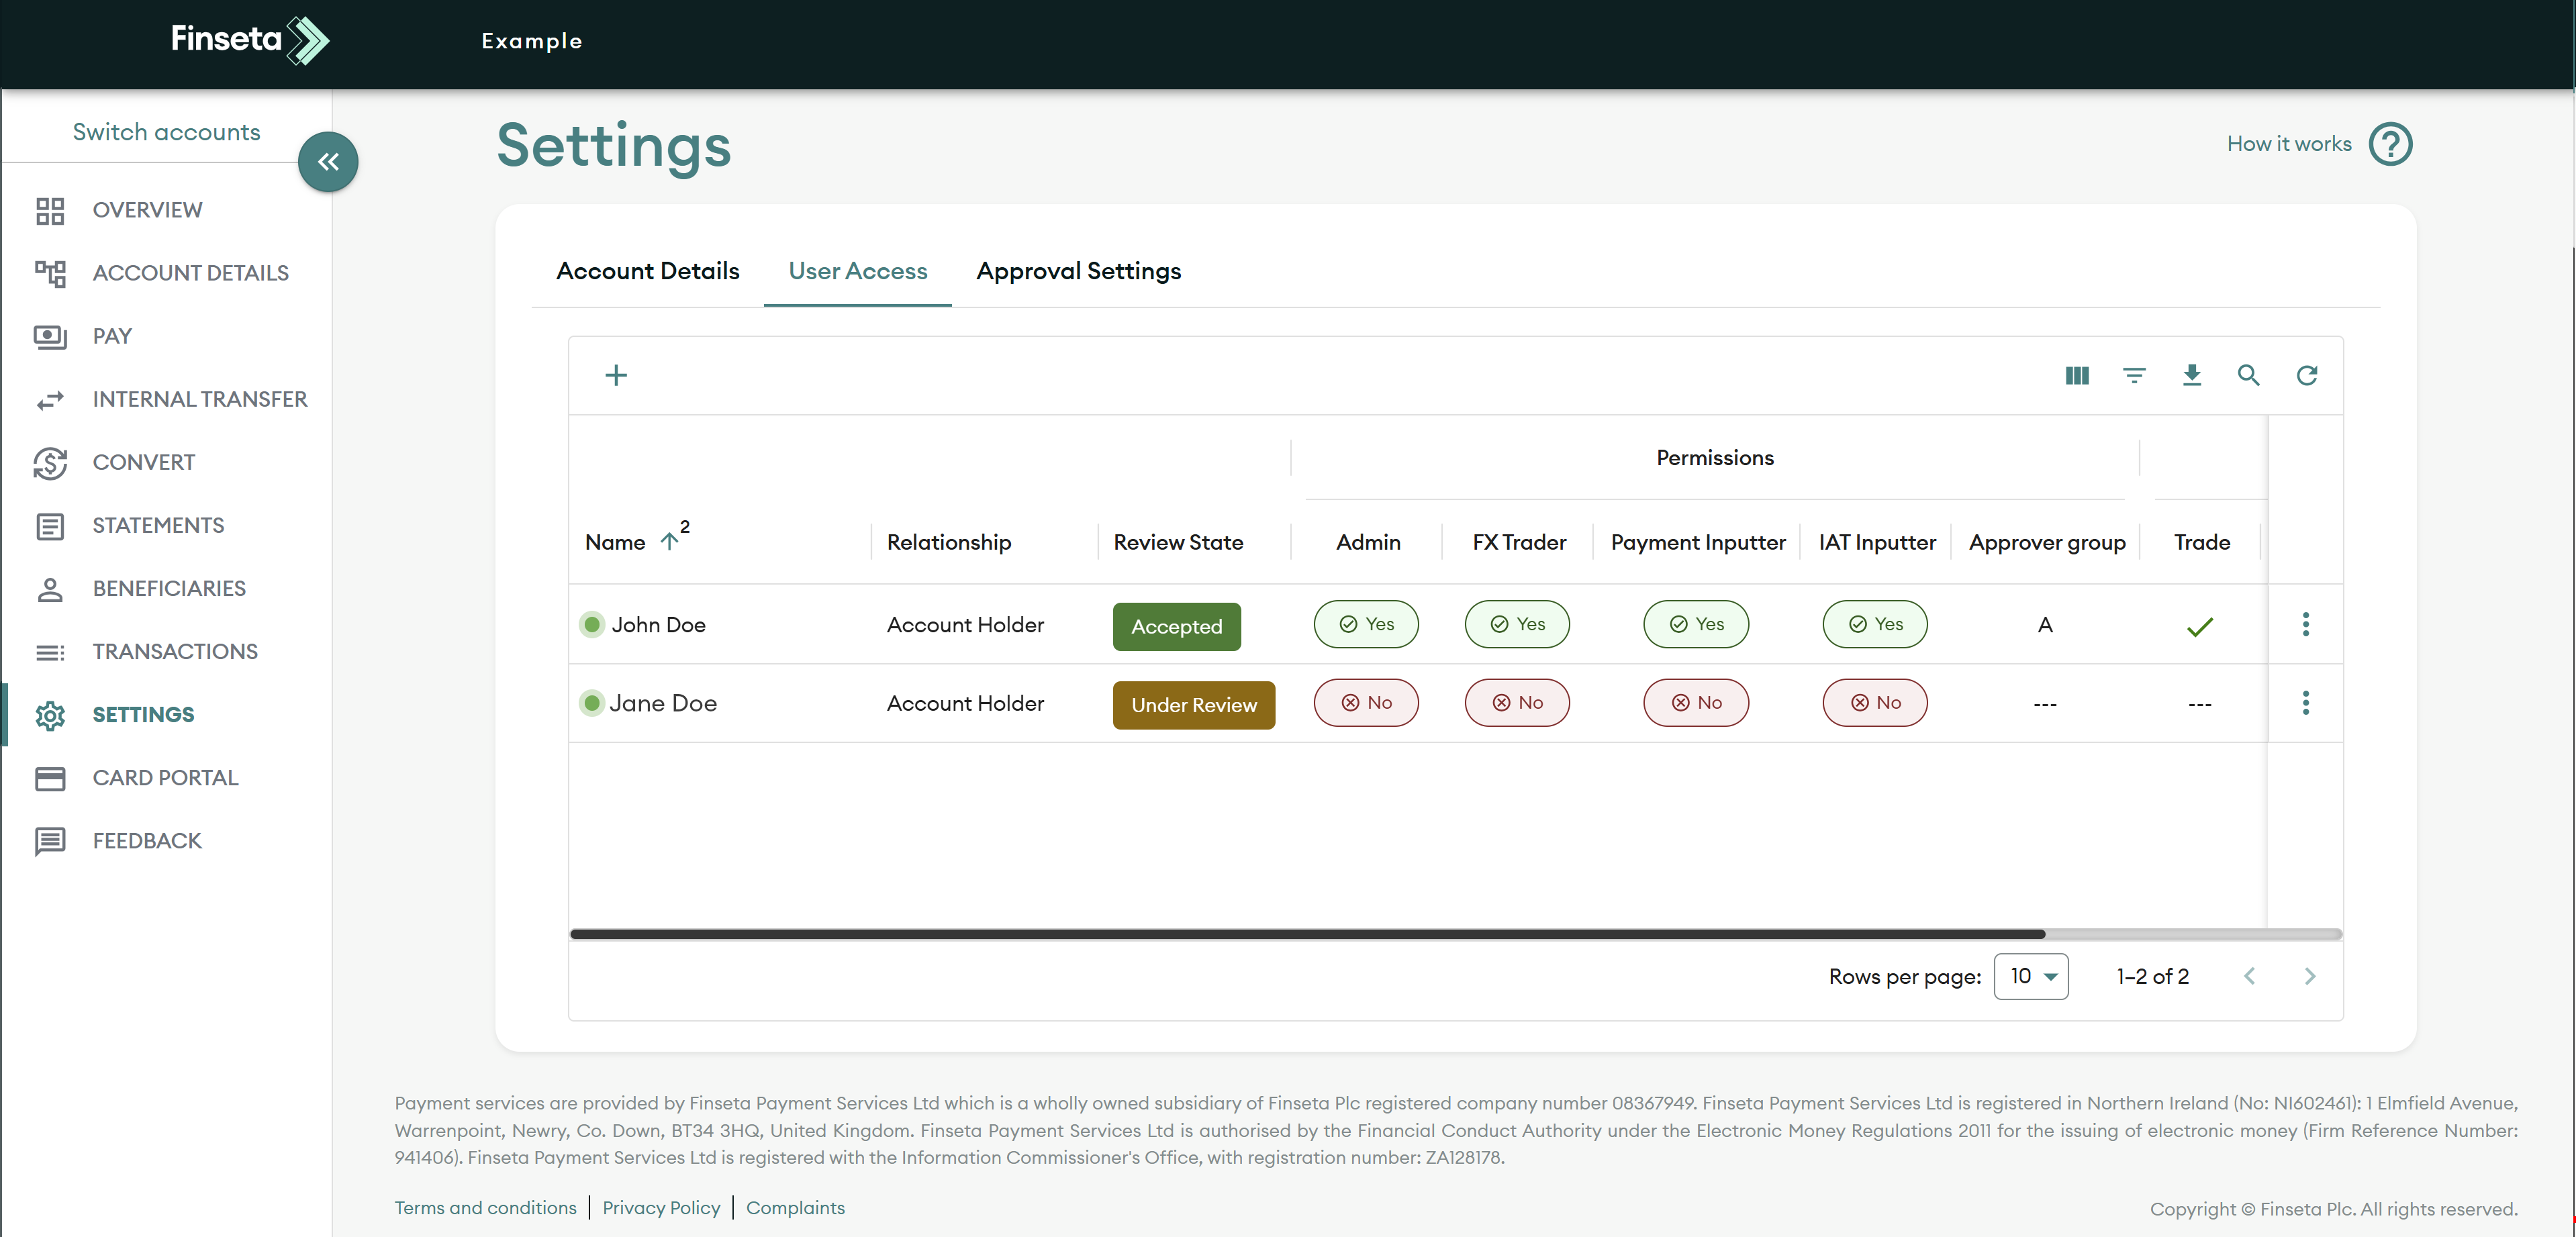
STEP 6
You can then assign the user’s permissions. These are:
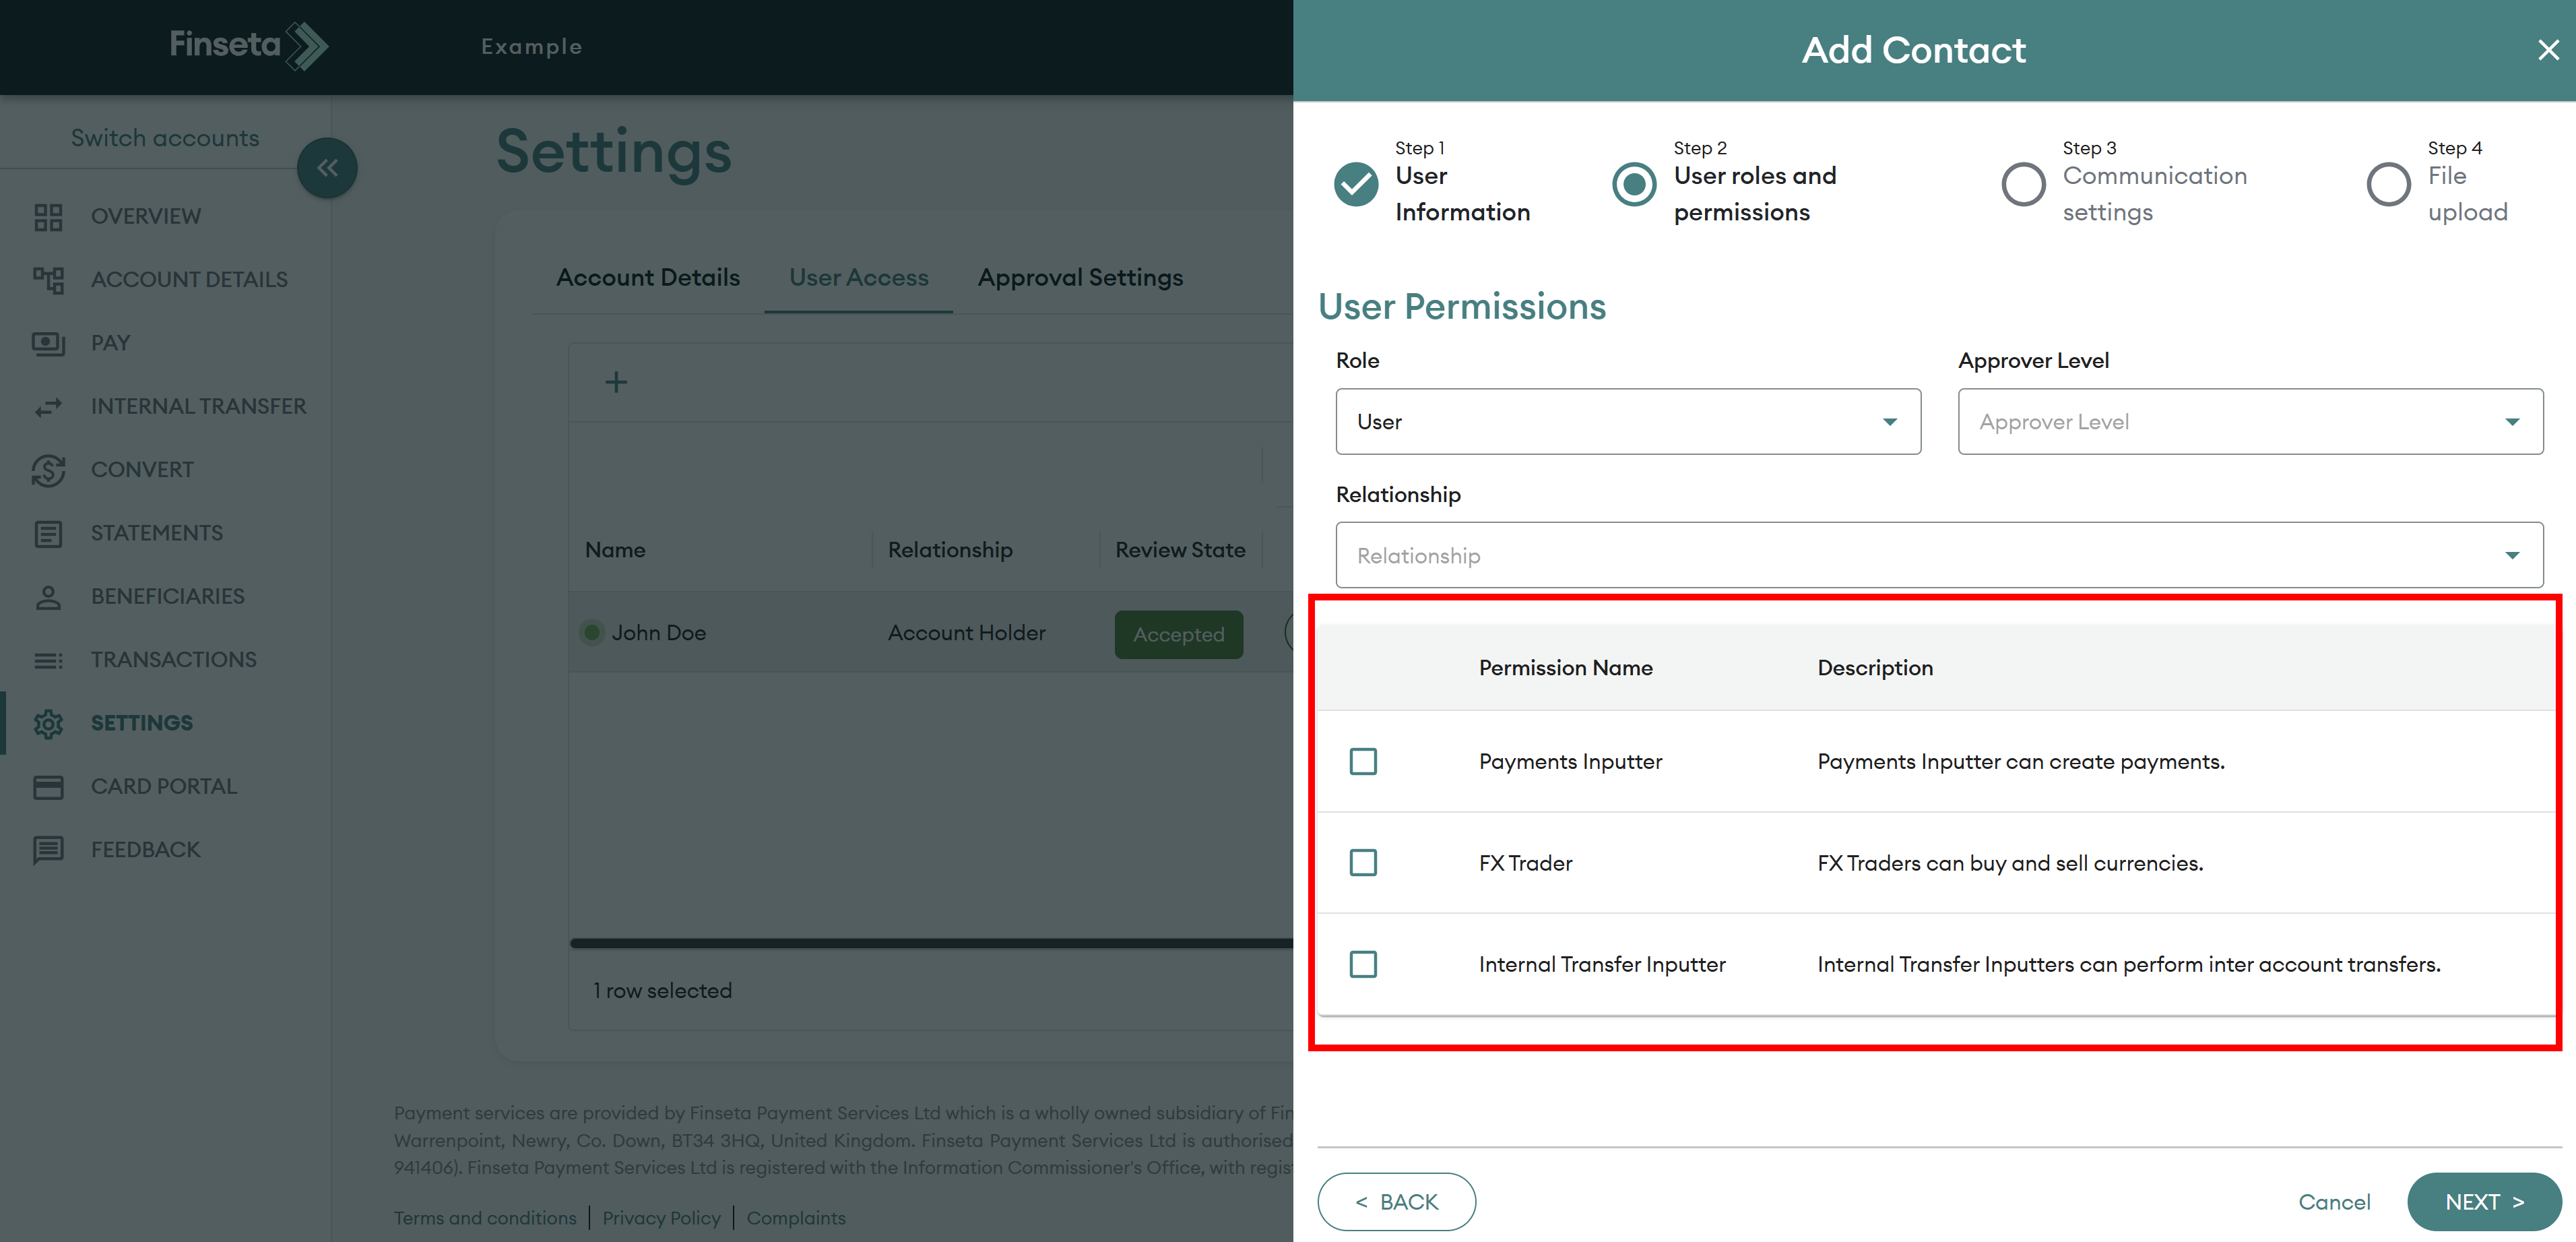
STEP 7
Below that, you can set additional permissions such as:
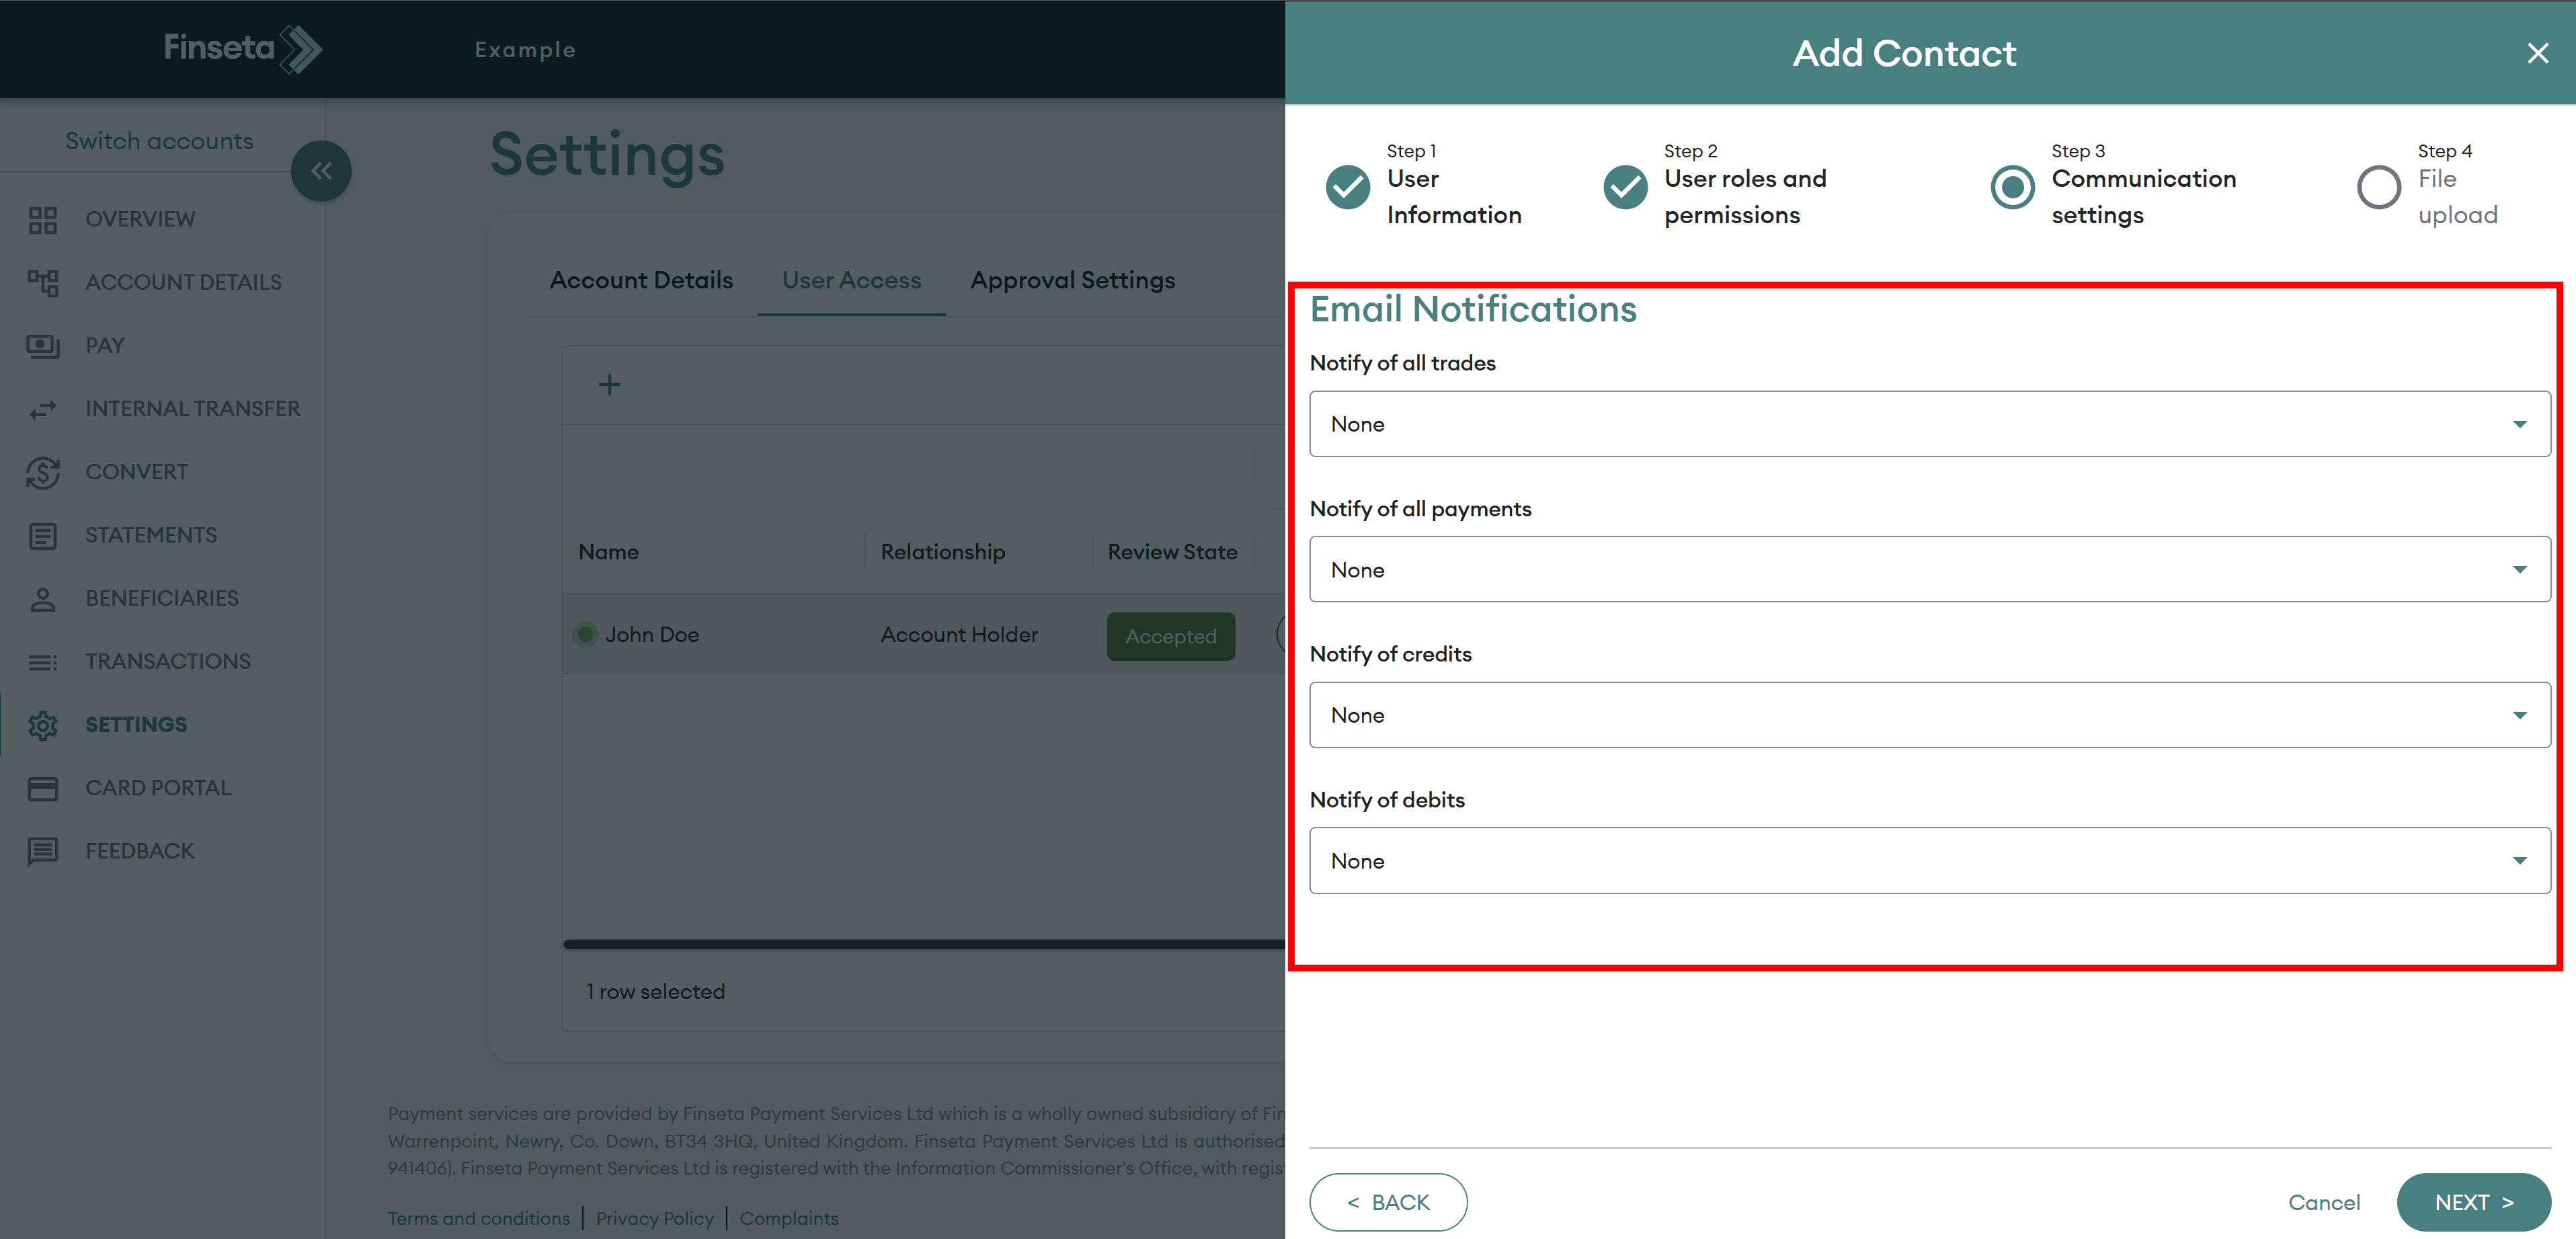
STEP 8
Select the notifications the user should receive via email.

STEP 9
Upload the required documentation (see below).
STEP 10
Once a user is created, they will enter a review state. After review by Finseta, the user will then receive a welcome email in which they will be asked to reset their password.
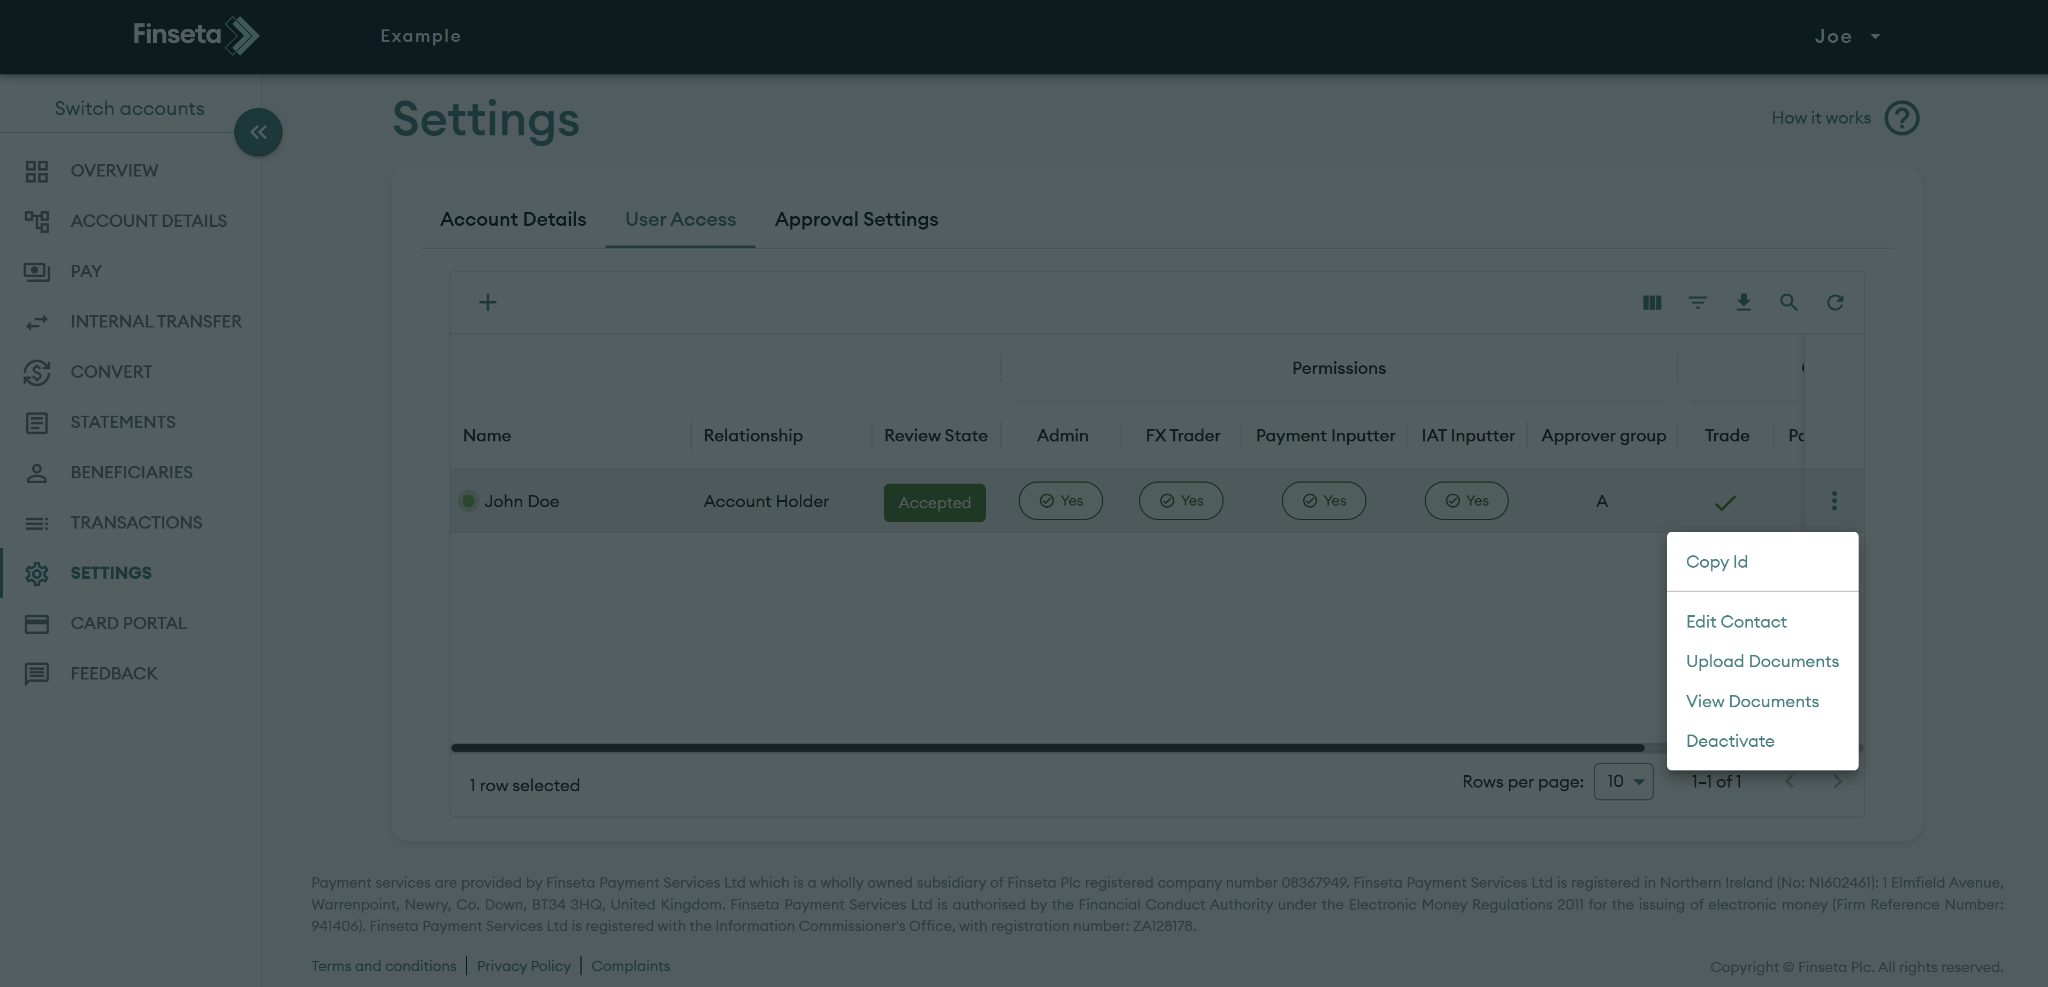
STEP 11
On an active user, you can edit a range of settings. For example, you can change the existing information or upload additional information as required.